Showing posts with label paint. Show all posts

Tuesday, September 10, 2013

Big Boy Room Paint

I hope you all enjoyed a nice long weekend!  I made some progress on my son's room, including changing up the wall color and adding a colored ceiling.  You might remember his nursery walls were light blue "Blissful Blue" by Sherwin Williams and the ceiling was "Divine White" also by Sherwin Williams.


Now, he's got darker walls "Indi-go-go" by Benjamin Moore (color matched at Sherwin Williams) and a light blue ceiling "Honest Blue" by Sherwin Williams.  There is a Sherwin Williams near my house, so that's where I get all my paint. 


Below are the paint formulas if you're interested.  I can't wait to get his bed (should be delivered this week) and drapes (backordered until late June!). 


Wednesday, August 21, 2013

How to Paint Perfect Wide Stripes

A bold, wide stripe on the walls makes a dramatic impact.  Our foyer needed some pizzazz, so for an inexpensive fix (a can of paint) and cheap labor (me), I added a wide, 16 inch dark gray (Sherwin Williams Urbane Bronze) horizontal stripe to the wall.  What do you think?


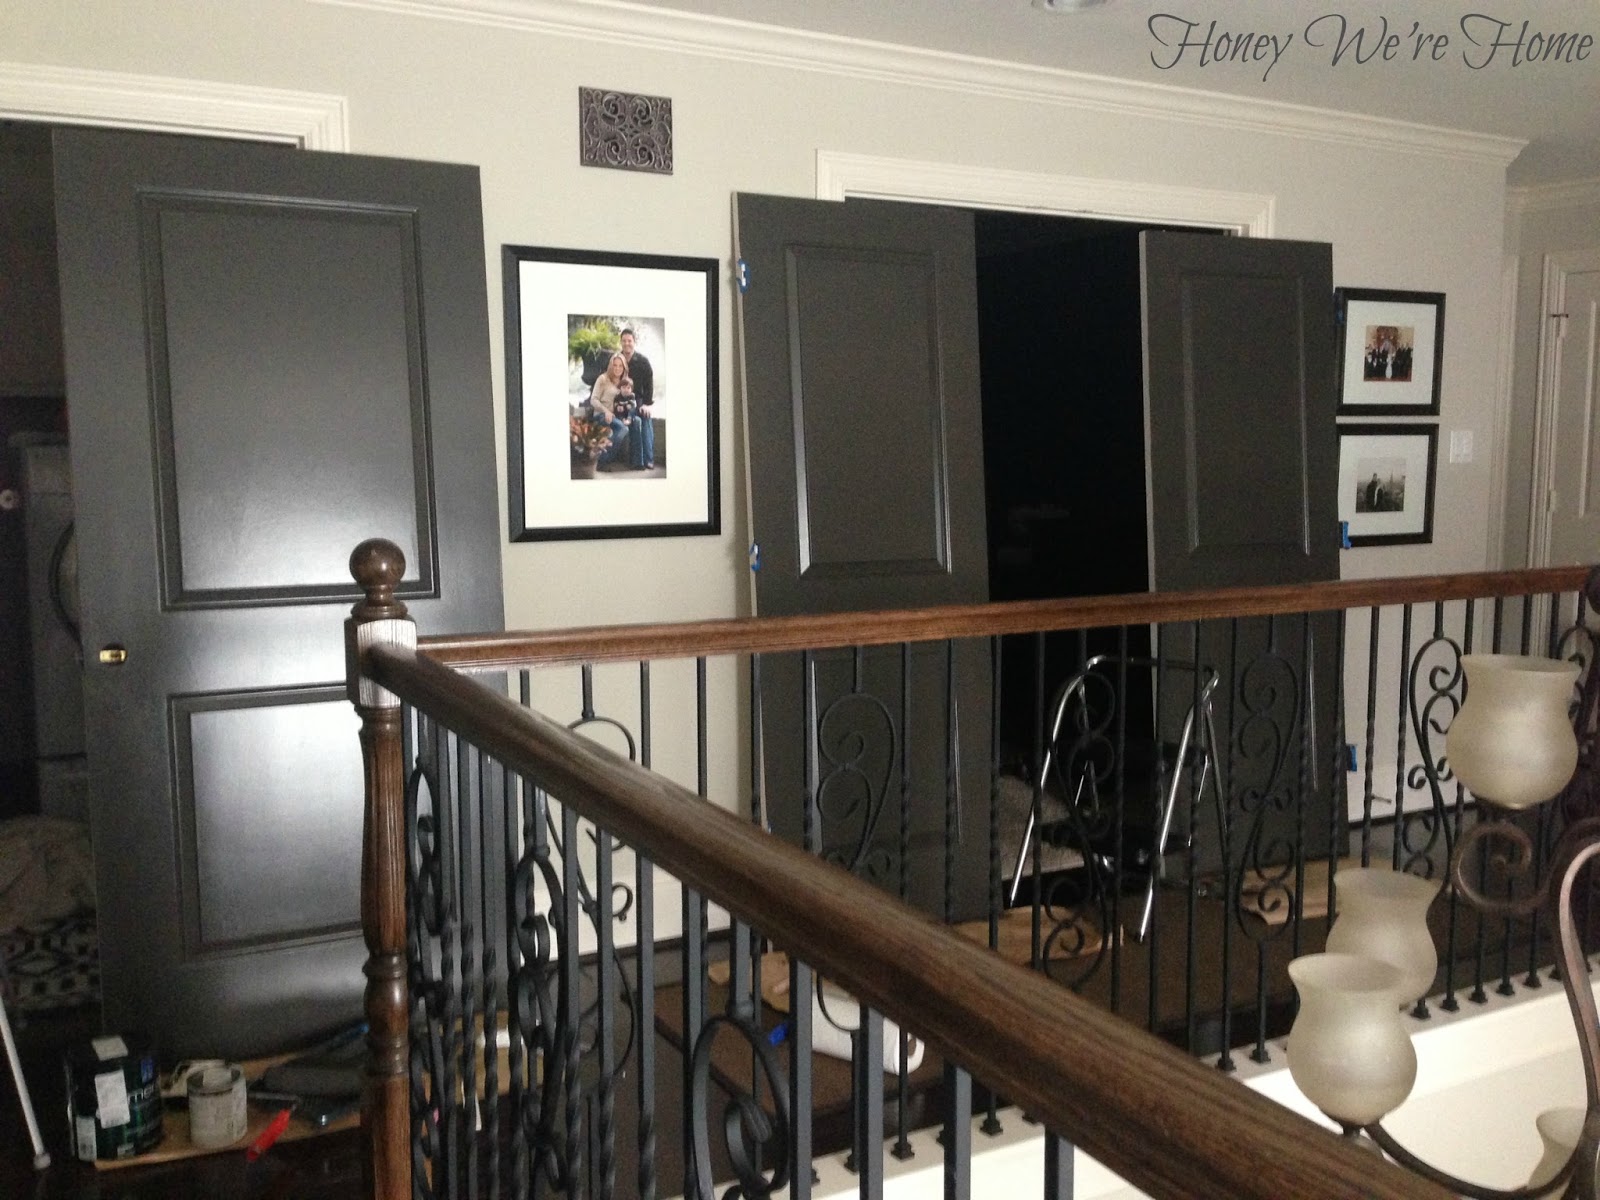
I wanted to break down the step-by-step for you in case you wanted to do something similar in your home.  Here's the blank slate I was working with.  


For this project, you'll need:


  • Paint and paint tray

  • Small paintbrush or small roller

  • Large roller

  • Ruler

  • Leveler

  • Pencil

  • Frog Tape

  • Ladder


The first thing I did was paint the entire wall the original paint color, it needed several touch-ups anyway.  I bought Sherwin Williams Agreeable Gray, which is the color I thought the wall was, but later realized it's not.  Agreeable Gray is slightly more gray than the wall, but just barely.  I found this out when comparing the color to the adjacent wall.  


First, measure the height of your wall and decide how wide you want your stripes.  We have a tall wall, 114 inches (not including the crown).  A 16 inch stripe meant 7.125 stripes, just about perfectly even.


Starting at the top, measure and mark in pencil 16 inches down until you reach the bottom.  Then, use a leveler to ensure you draw a perfectly straight line.


After drawing your lines in pencil, tape above and below the pencil line to indicate the area you will be painting.  To be extra sure I didn't paint the wrong part, I marked an "x" in the area I was NOT supposed to paint.  Trust me, when you're that close to the wall, it helps!


I then used a paintbrush/small foam roller in the original paint color all along the edge of the tape to seal it. If any of your paint bleeds through the tape, it's the same color as the adjacent stripe!


I used Frog Tape and ended up using two strips of tape for each line, increasing the thickness of the tape in case I was a sloppy painter. 


I only needed two coats of paint for full, even coverage.  As soon as I rolled the second coat of paint, I pulled the tape off. 


The moment of truth! 


Sit back and enjoy your clean, perfectly straight, bold stripes. 


I ended up painting the light switches too, and they look good from afar, but not so great close up. 


I'm especially digging the view from the dining room.


I hope this helps!  If you have any questions, please let me know and I'll answer in the comments section. 


* * * * *


P.S. I've really missed my health and fitness blog, Honey We're Healthy, and have started posted again there. I'd love to see you over there.


* * * * * 


If you'd like to enter to win a trip for 4 to Universal Studios Hollywood or Universal Orlando Resort, click HERE or the picture below.  You can also win a year's supply of NestlĂ©® Pure Life® Purified Water.


* * * * *


Tuesday, August 13, 2013

Painted Dark Grey Doors


Ever since painting the half-bath door glossy dark gray, I've been wanting to paint the doors in the upstairs hallway the same way.  Painting doors isn't as daunting as you might think, and the impact adds some nice drama to a space.  Here's how the doors looked originally:


And below is how they look after two coats of paint- Sherwin Williams Brown Fox in semi-gloss for extra shine.  


The paint color is a warm dark gray with a hint of brown in it.


I painted these doors off the hinges, but in retrospect, I don't think that's completely necessary as long as you keep the door propped open or tape and cover the moldings/wall above the door.  


I used a 1.5 inch angled brush for the door moldings and a large roller for the rest.  


The roller was something like this:


I also added about 8 oz. of Floetrol to the gallon of paint to help reduce roller and brush marks and I think it worked really well.  


I removed the hardware and taped off the hinges before getting started with the paintbrush. 


My little helper rolled some too.


This paint looks really muddy brown after the first coat, but after the second coat, it's a nice deep grey.


I only painted the front of the doors, but ended up going back and painting the inside edge of the media room doors because you could still see the white when the doors were shut.  The picture above shows the doors before I painted that inner edge.  


For comparison, here are some before and after shots:


***


***


 ***


I'm really liking the contrast, but now I need to do the hall linen closet double doors on the wall opposite that mirror! 


What do you think of the change?  Is this something you would do in your home?  If so, what color would you use?


Tuesday, August 6, 2013

Painted Media Cabinet & Bookshelf Styling

Painting the back of our media cabinet was one of the first projects I tackled when we moved into this house over three years ago.  I chose Jamestown Blue and painted the cabinets mostly while my then 4 month-old slept.  It's a pretty calming blue that worked well for a long time, but I was ready for a change- to dark gray.  I considered having the whole cabinet painted, but the quote was too high and I'm not confident enough in my painting skills to tackle such a big focal piece in our home by myself.  But, I can handle painting the back cabinet walls alone.  It only took one Sunday afternoon.


I used Sherwin Williams Urbane Bronze (matte), the same color I painted our back kitchen cabinets to create a cohesive look.  The two photos were taken at different times of day, and the white part of the cabinet (Sherwin Williams Divine White) is more like the top photo- it looks a little warm in the bottom picture.  The Urbane Brown is a dark gray, with a slight hint of brown in it.  


I did not prime or paint white over the blue, just applied two coats of the Urbane Bronze.  


The best part of painting is removing the painters tape and admiring your work! I'm not good enough for cutting in by hand, but maybe someday.  


As soon as the paint was dry, I got to work restyling the shelves.  I changed some objects and books around since they looked different against the dark gray.  I love how white pops against the dark background, so I added more white accessories.  A few books with dreary covers were recovered in a silver snakeskin or plain white wrapping paper.     


The faux boxwood came in a brown ceramic pot that I spray painted white.  I found the tiger print on Etsy.  I have a couple more prints I'd like to sprinkle in, but this is good for now. 


On the left side, a funky pair of candlesticks flanks a picture of James when he first started walking-sweet memories! Varying the height and color of the books with pops of lime green and pink keeps the bookshelves from looking too serious. 


That lime green book on the far left is covered in scrapbook paper too, to bring in more of that cheerful color.


On top, I spray painted a larger black frame white and covered one of the books with blue and white quatrefoil paper.  For almost all of the books on the shelves, the jackets were removed.


Most of you know that this media cabinet was built-in when the house was built, so it wasn't purchased from a store.  A few industrious people have asked about measurements and so forth, so I measured for you in case you are building something similar.  I hope this helps!  When we had a small townhouse, we used the Pottery Barn Logan as our media center and it was very well built.


Do you like the new dark gray color or prefer the old blue better? 


* * * * *